Art Making Activity: Watercolor Memories
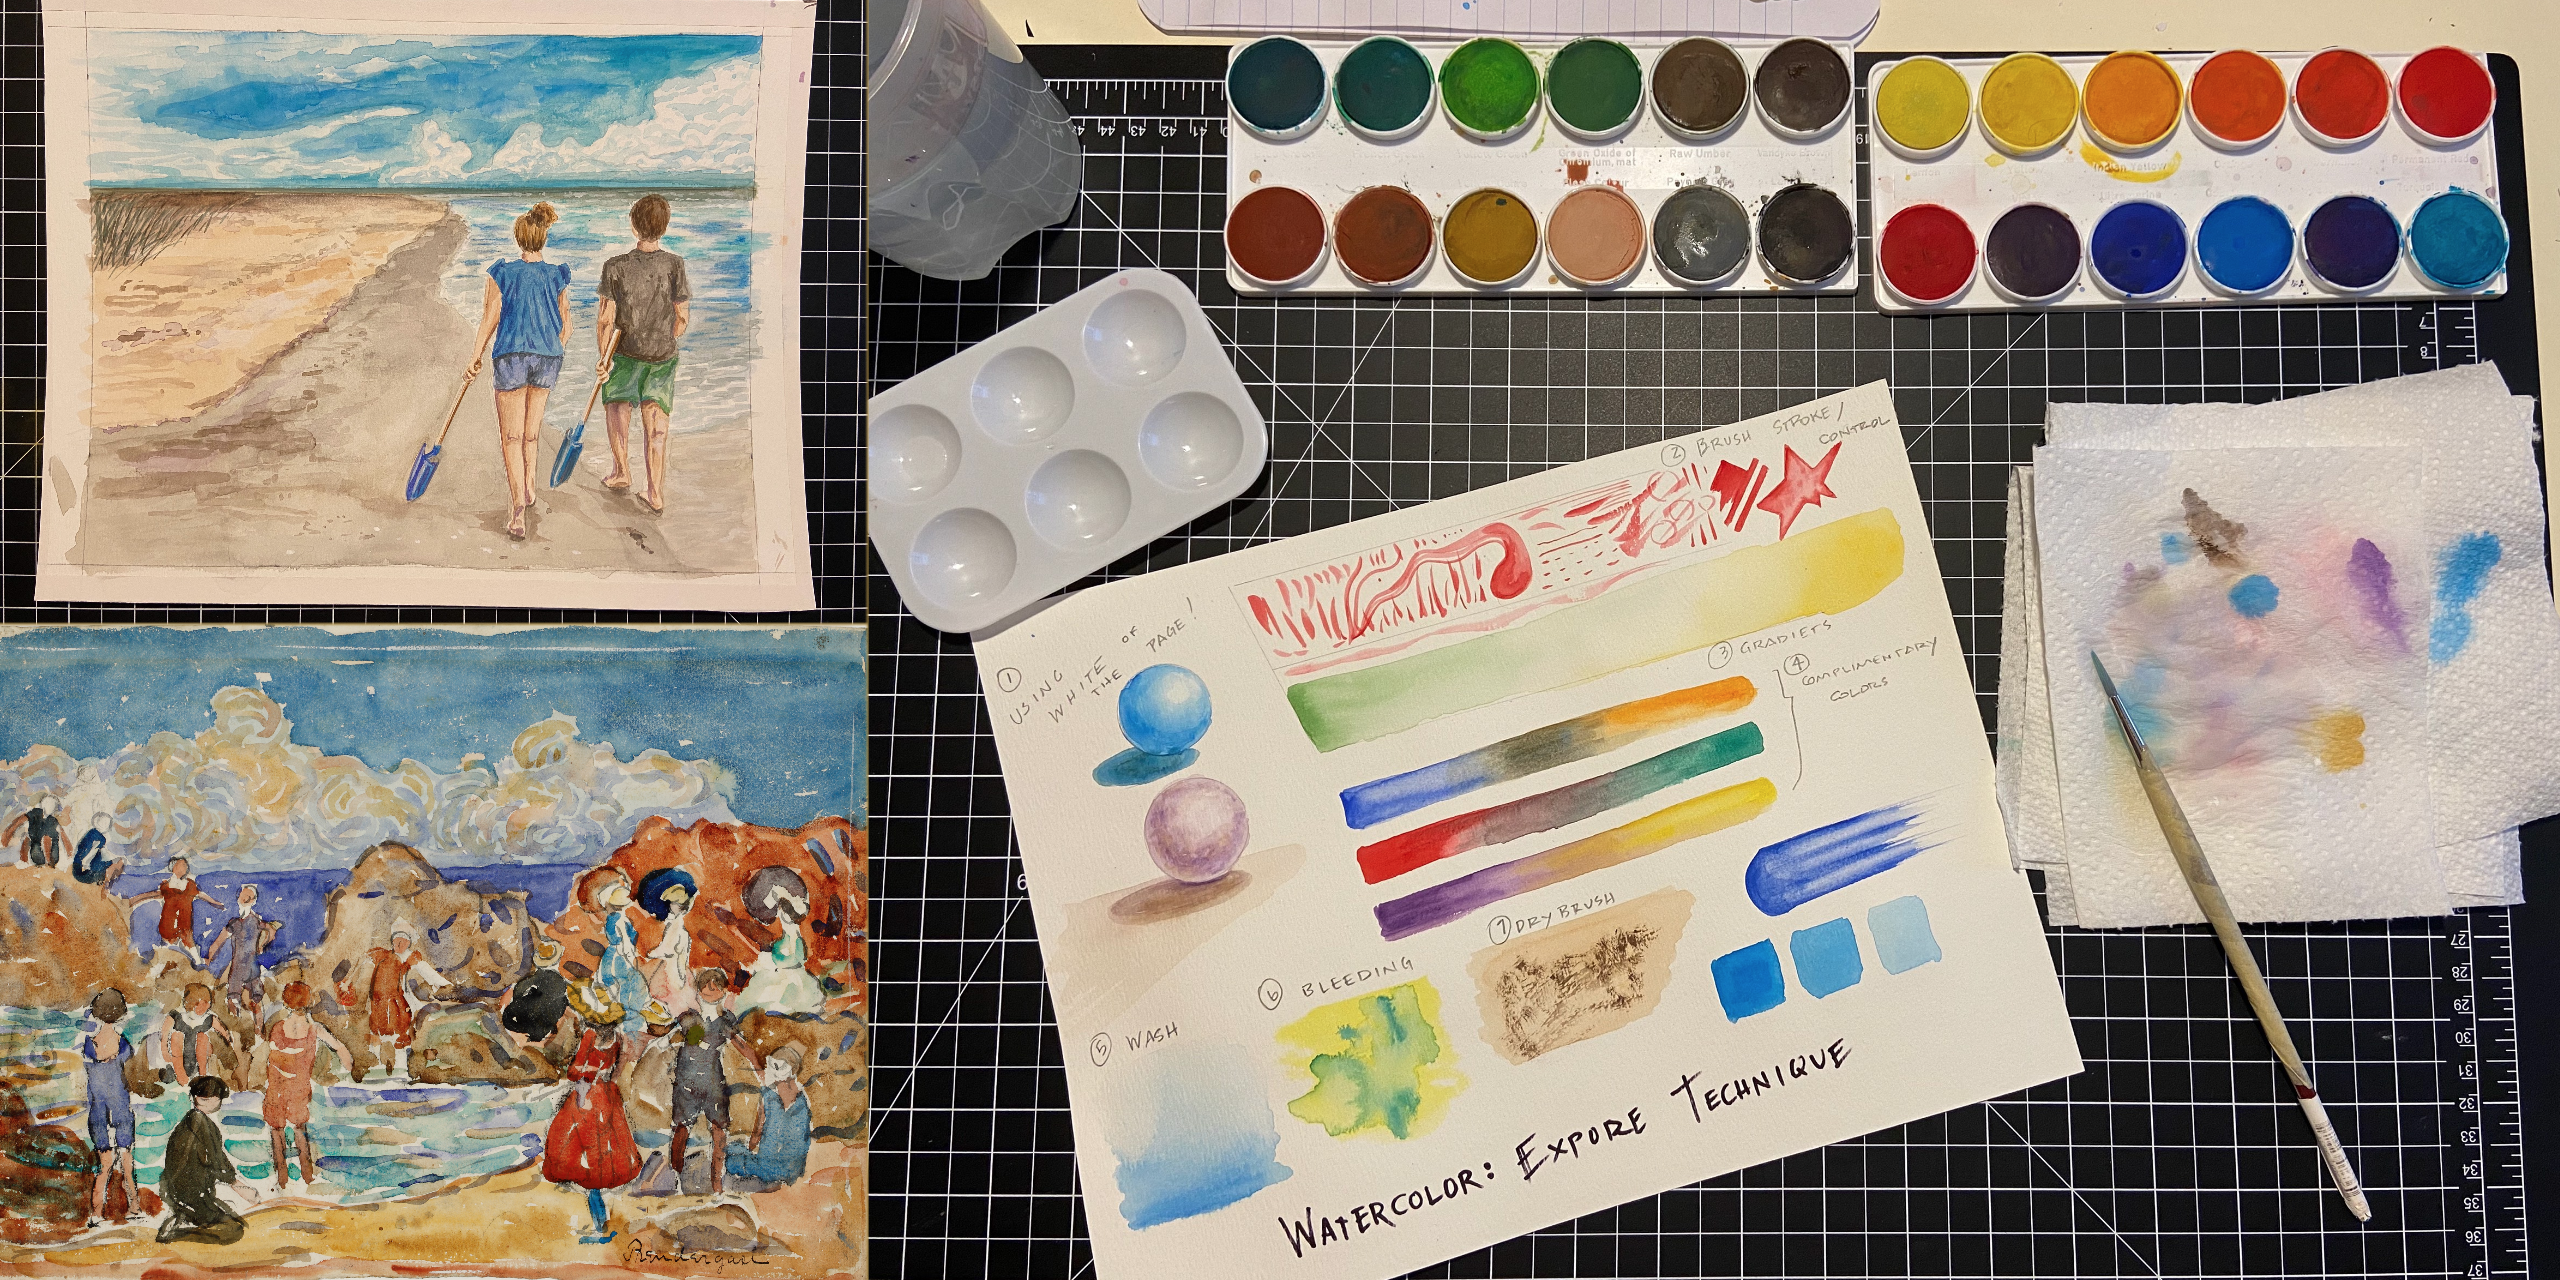
As evidenced by the title, this week’s art activity was inspired by Maurice Brazil Prendergast’s (1858-1924), Bathers, St. Malo a watercolor in The Westmoreland’s permanent collection and my own memories of visiting the beach with my family.
I would start by telling you, I do not consider myself to be particularly skilled as a watercolorist. I enjoy watercolor very much, but it can be difficult due to the nature of the medium itself. Before we get started, I wanted to share with you a few things I’ve learned about painting with watercolors!
1. First watercolor is meant to be used with a liberal amount of water often on saturated paper, which causes the paint to bleed together creating the beautiful effect that we all love; however, learning to control those wonderful plumes of color is no easy task. So be patient with yourself as you learn to balance the amounts of water with dry times and pigment placement.
2. Secondly, you must know when the painting is “complete.” Do not attempt to overdo the painting as rewetting the paper leads to more bleeding as well as the colors becoming “muddy.” Once this happens, there is not much you can do to salvage the work.
3. Third, there is no white watercolor paint. Using the white of the page is your light color and your means of achieving highlights. Again, I remind you of the “muddy” aspect of this medium. Once you pass the point of no return, that sinking feeling tells you neither tractor nor team of mules will pull you out!
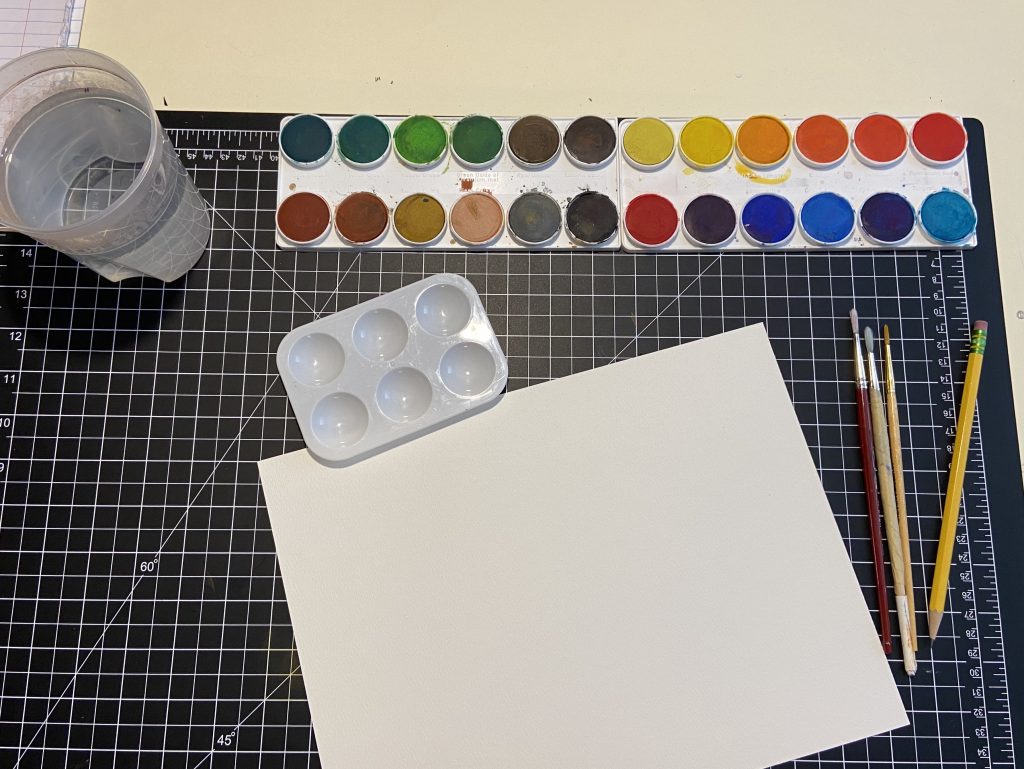
So where to begin? Materials!
You will need watercolor paper. THERE IS NO WAY AROUND THIS! If you don’t have paper designed for this type of work, you end up with a soggy mess of paper pulp. This paper can also be quite expensive, so until you are certain that you want to make the investment using student grade materials is a good place to start!
My recommendations:
- PRANG watercolors are great – rich pigments!
- Strathmore 400 Series Watercolor Block is a good start for paper. I do recommend buying a “block” because this eliminates the stretching of the paper. (In the following images, you will see that my paper is stretched on a Masonite board. This is to prevent the paper from warping and curling while you are working.)
- Multipurpose soft brushes are fine, natural or synthetic, in a few sizes. Nothing bigger than 1 inch and smaller than a size 4 is really necessary for a beginner. Click here, to view a fine starter set that is inexpensive.
- A palette to mix colors; a white wax coated paper plate works nicely
*I am ONLY using Amazon as a reference and do not endorse Amazon.com in any way. You can find materials where you feel appropriate.
Step 1: Practice some techniques.
Keep in mind to start light and build up to the darker tones. I have included several basic watercolor techniques that you should be able to accomplish with a little practice.
Here I have demonstrated 7 basic watercolor techniques:
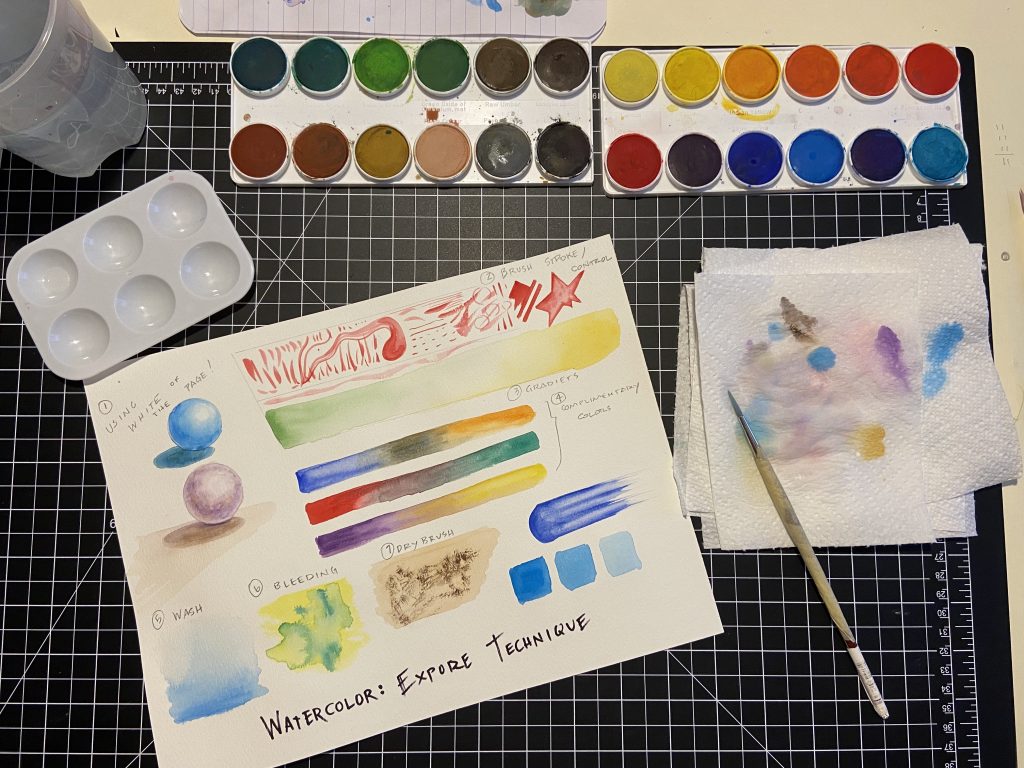
- Using the white of the paper to create form
- Brush stroke variety and control
- Gradient from light to dark
- Mixing complimentary colors to make tonal variations **
- Wash, wet paper with water first
- Bleeding colors
- Dry brush, paint an area, allow to dry, create texture with a different color over top with little moisture on the brush
**Please note: If you are not familiar with creating tonal variations using complimentary colors, you may want to do a bit of research on basic color mixing.
Step 2: Stretching the paper.
If you don’t have a “block” as noted above, you need to stretch the paper. To start, this can be done simply using good masking tape and pressure on a Masonite panel. To properly stretch watercolor if you become more invested, you will need gummed paper tape and can research that if you are interested.
Step 3: Creating your image!
I worked from a photo of my kids walking on the beach last summer… oh to walk on the beach…. but I digress. So here’s a little trick for beginning, a purist would balk of course, but the fact is that time is precious and you are probably going to mess up!
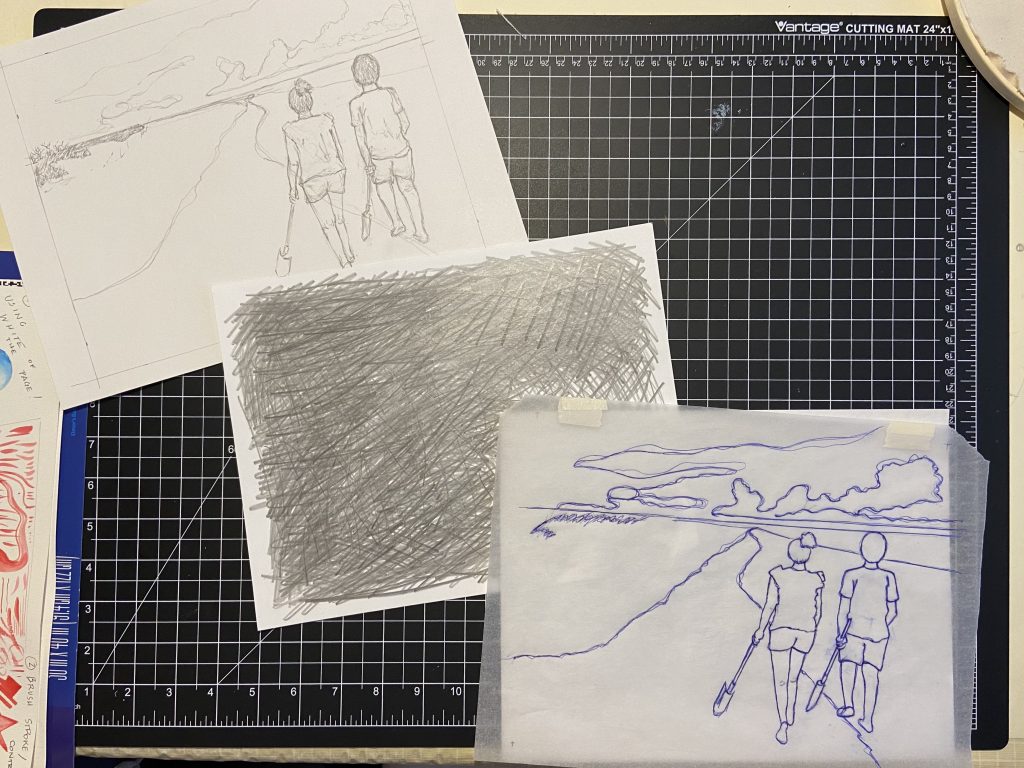
I worked on 9”x12” drawing paper. Measure and draw a border on the paper (NOT the watercolor paper! Just the drawing paper!). Leaving a border also allows for matting later should you create something worth a frame!
Now here’s the trick for allowing for those mistakes. Take another piece of drawing paper and scribble pencil on the back of it to create a transfer paper. (You can buy transfer paper as well should you desire to.) Take a piece of tracing paper, and trace over your original drawing. Remove the tracing paper.
At this point, you should have the following: your drawing, a transfer paper, and the tracing paper copy of the drawing.
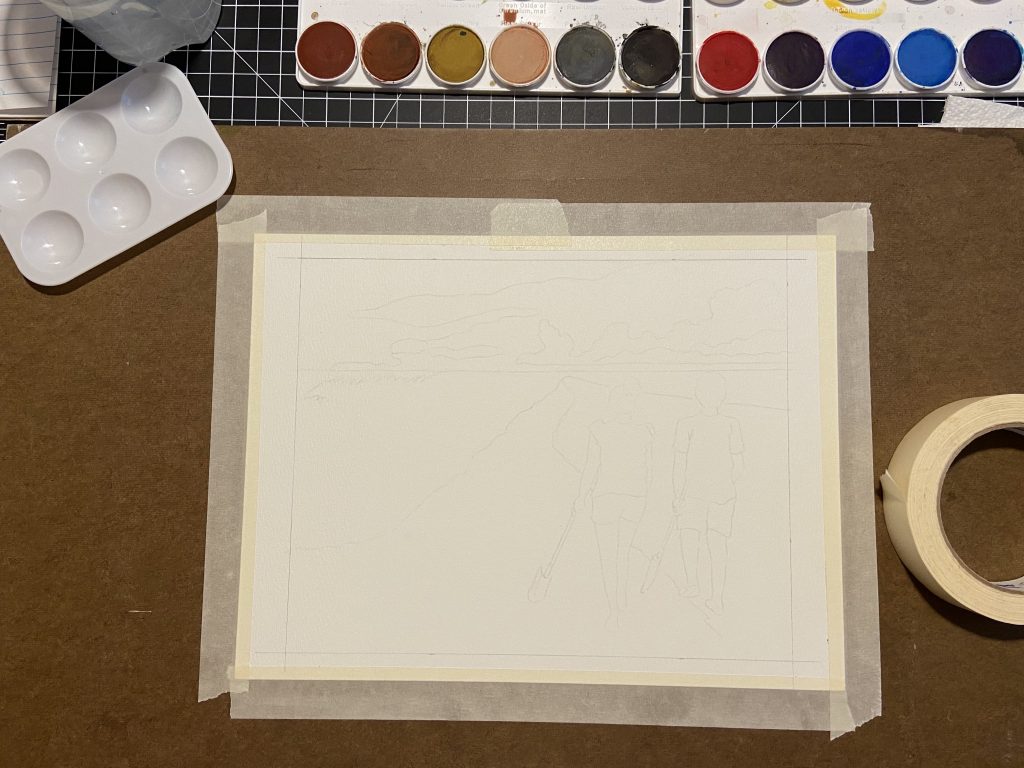
Step 4: Transfer drawing to watercolor paper
Next get a sheet of watercolor paper, and measure and draw a similar border on the paper to maintain the same drawing space. In my case, it was 9”x12” paper to make an 8”x10” area.
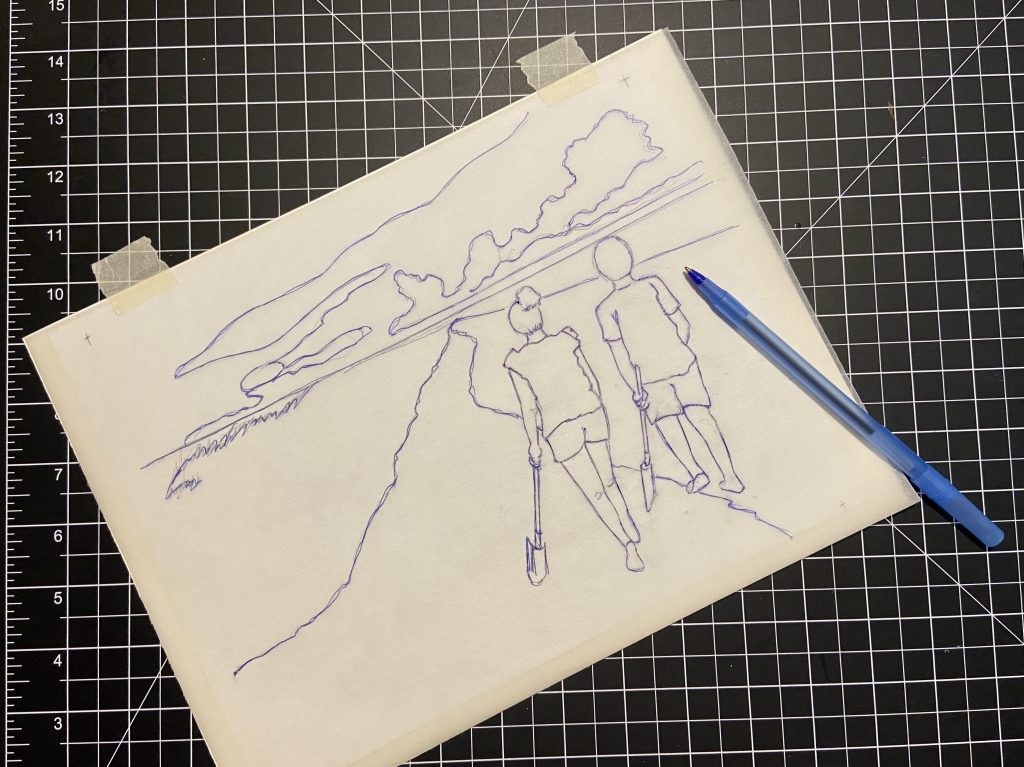
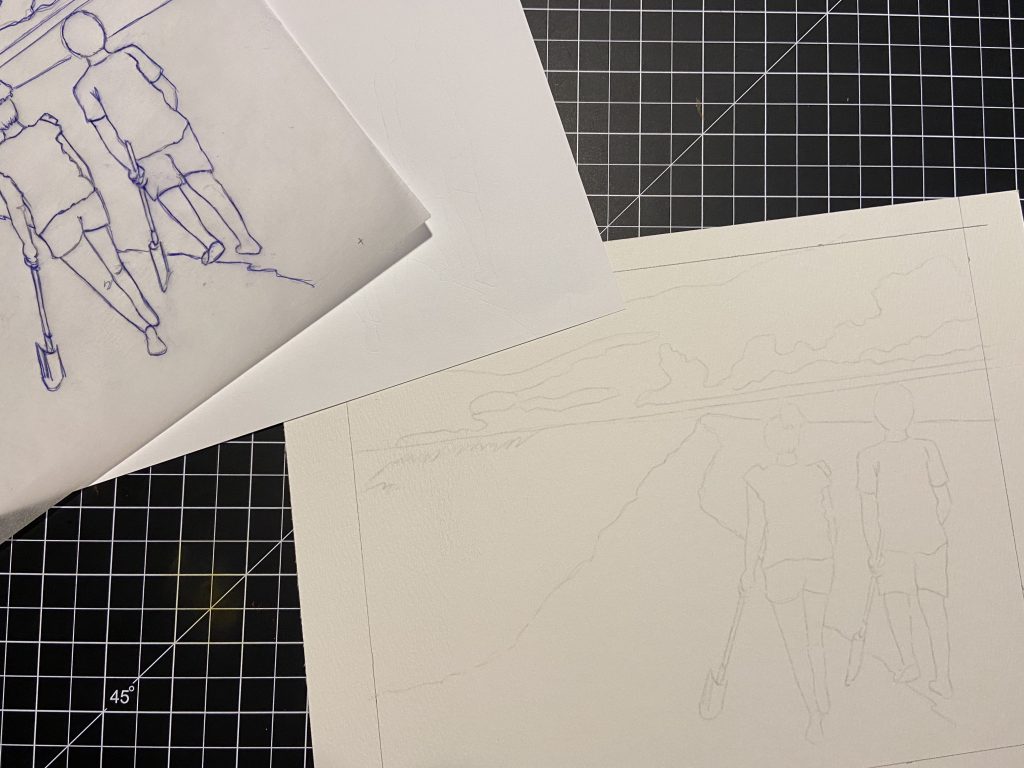
Align the tracing paper to fit that space, and use tape to affix the top corners to the watercolor paper.
Slide the transfer paper in between the tracing paper and watercolor paper, pencil side DOWN to the watercolor paper. Using a ball point pen, trace over your drawing. Check to be certain the transfer is using enough pressure. Once complete, remove the tracing drawing and the transfer paper. You can use this later for more “copies” should you need more practice.
Step 5: Now you are free to start your painting! Here are a few final tips:
- Start light and build up to darker tones
- Start painting larger areas and save small details for last
- Paint far to near in general
- Have a test paper for trying colors before adding to your painting
- Clean your water! In fact, I use clean water for mixing colors and for washing my brush. A dirty brush is not your friend especially using watercolor paints!
Finished Artworks!
In the end, I made 2 paintings. The first is somewhat faster and looser in the technique. View my progression below:
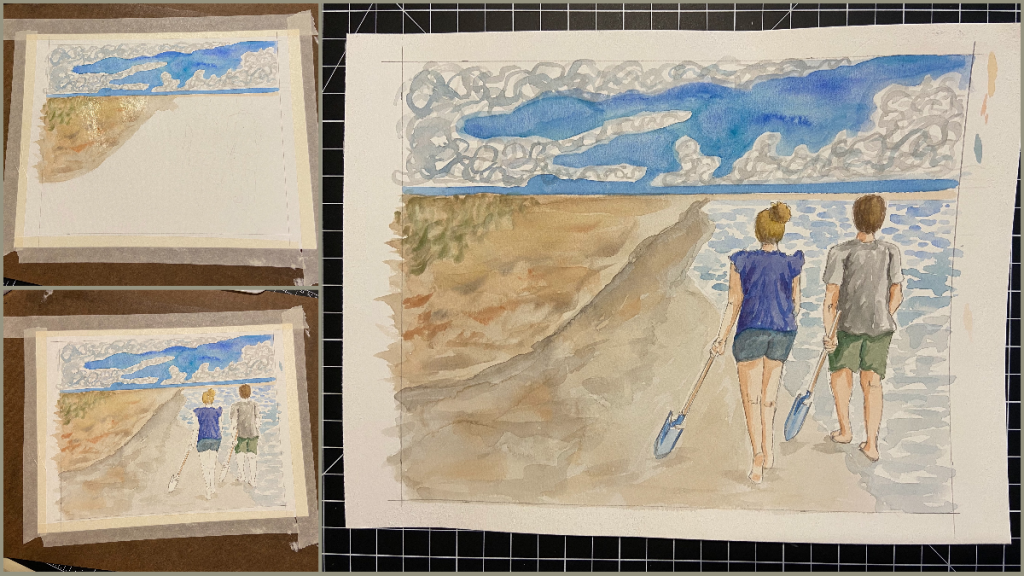
The second is a little more controlled and refined. View my progression below:
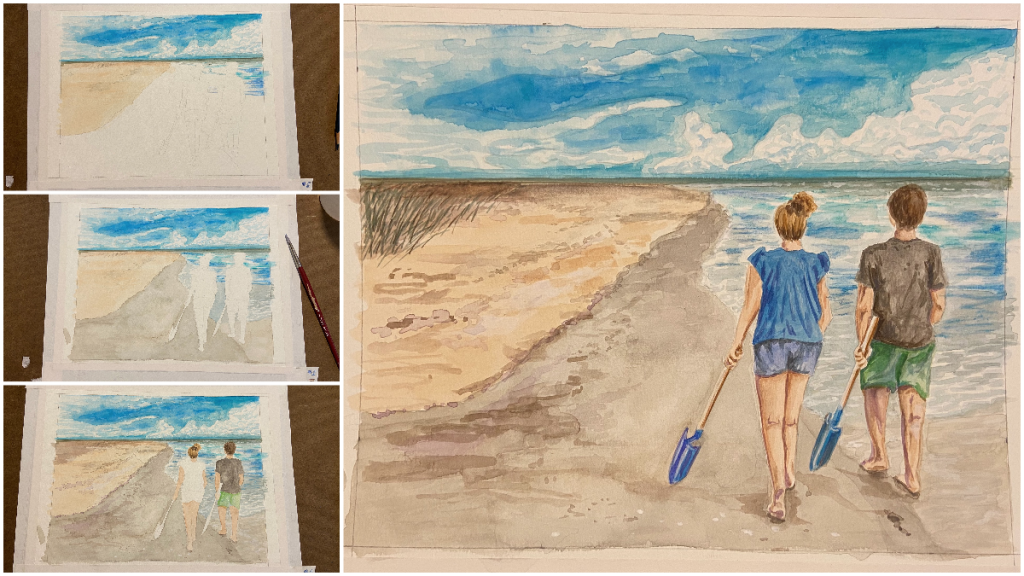
Like I said already, I am still learning each time I make a watercolor painting and would like to have more fluidity to my canvas, but I get hung up on realism. So, remember, this is a painting, and not a photograph (we have cameras for that!).
Be brave. Be bold. Be amazing!
The Wistful Watercolorist aka The Quarantined Quiller aka The Partitioned Puppeteer aka The Isolated Artist aka The Quarantine Crafter, Studio Programs Coordinator Michael Carsone